Arc
Create arc
The arc can only be added to workspace from toolbar.
 from
from Note
If the toolbar is not displayed, it can be displayed from Settings > Display > Parts.
Arc properties
Element part proterties can be displayed from information panel when the part is selected.
Note
If the information panel is not displayed, it can be displayed from Settings > Display > Information.
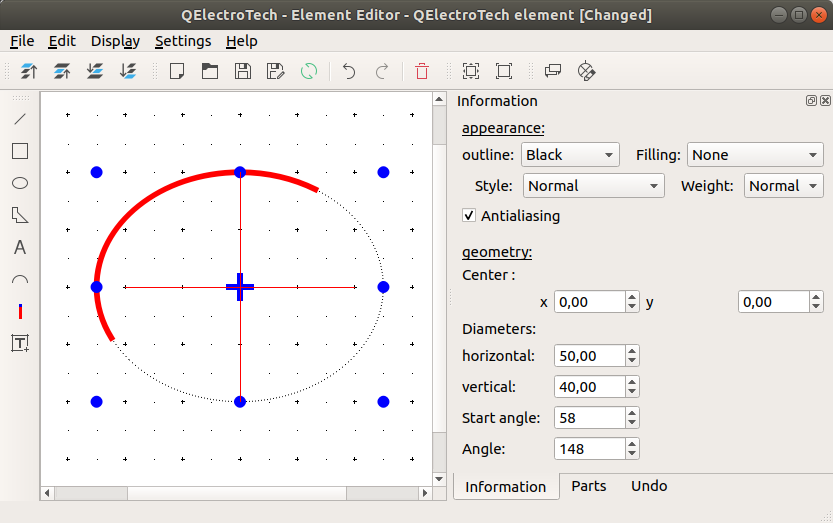
Figure: QElectroTech arc part from element
QElectroTech allows customizing different arc properties:
- Appearence
- Color
The outline color and the filling color of the part can be defined from a list of pre-defined colors. At the case of the arc part the filling color is None.
- Style
The type of outline representation can be chosen between: Normal (Continuous), Dashed, Dotted or, Dots and dashes.
- Thickness
The outline thickness (Weight) can be chosen between: None, Thin, Normal, Strong or High.
- Geometry
- Coordenates
The coordinates (x, y) from the ellipse center point can be defined.
- Dimensions
The horizontal and vertical (minimum and maximum or maximum and minimum) diameters from the ellipse can be defined.
- Point
The position of initial point and end point are defined as angle of the radius betuen the center and the respective point with the horizontal diameter. The angle value follows the mathematical rules, anti-clockwise for positive angles.
Arc extreme points definition
QElectroTech allows defining the arc extreme points from information panel or workspace.
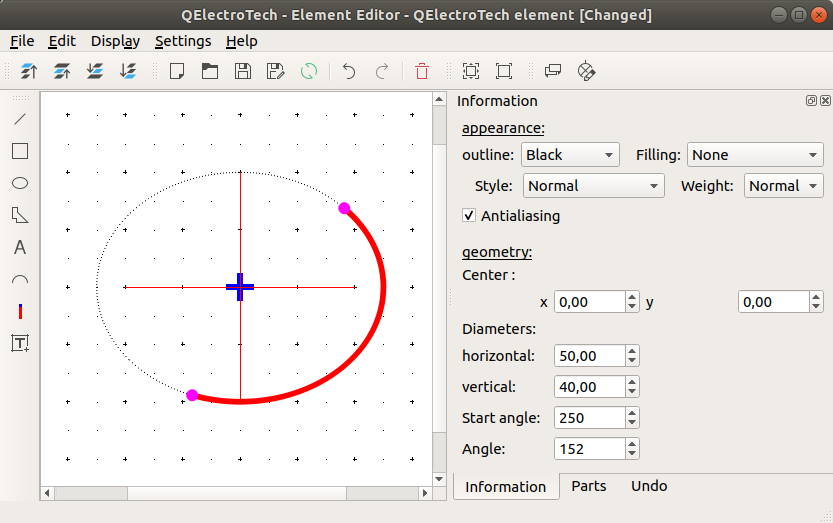
Figure: QElectroTech arc extreme point
Arc extreme points definition from information panel
Select the arc to display the rectangle properties at information panel.
Define the start angle, the angle from the diamete of the start point and the horizontal axes.
Define the angle from the initial point and the end point of the arc.
Press intro.
Select none from Edit menu or use
Ctrl + Shift + akeyboard shortcut.
Arc extreme points definition from workspace
Select the arc drawn at the workspace. The arc line changes to red color and the control of the arc ellipse point to blue.
Select the arc again. The line continues in red and the points change to green color.
Select the arc for third time. The line continues in red and at this time only one extreme points are, the color is pink.
Displace the pink points arround the ellipse outline.
Select none from Edit menu or use
Ctrl + Shift + akeyboard shortcut.