Polygon
Create polygon
Note
To draw more easily, the folio grid can be displayed from Display > Display the grid or
from toolbar icon  .
.
The polygon can only be added to the workspace by toolbar.
Select the icon
from the toolbar to add a polygon.
Draw connected lines by simple click on the beginning and end point from each line.
Doble Click on the end vertex/point from the polygon.
Note
At everytime from the polygon creation, the previous line can be deleted without stopping the creation process.
Right click will delete the previous line without losing all previous work.
Note
If the toolbar is not displayed, it can be displayed from Settings > Display > Add.
Polygon properties
A polygon is a plane figure generated by a finite number of line segments connected. When the initial and end line segments from the polygon are connected, the polygon defines a closed area.
When the polygon do not define a closed area, the properties from the polygon object are the same as a line object.
When the poligon defines a closed area, the Closed polygon check button from the polygon properties panel is selected, the polygon object has the same propertias as a rectangle object.
Note
If the initial and the end line segments from the polygon are not connected when the Closed polygon check button is selected, a new line segment which connects both segments will be automatically generated.
The polygon properties can be displayed from menu bar, by right click on one polygon edge/line, from selection properties panel and using keyboard shortcut.
Polygon properties from menu bar
Select one of the edges/lines from the polygon which should be edited.
Select Edit > Edit the selected object menu item to display the polygon properties PopUP window.
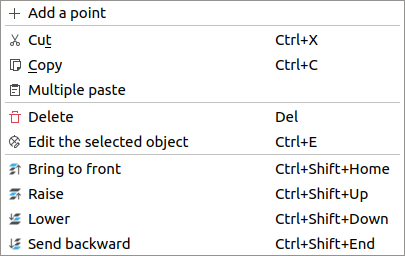
Figure: QElectroTech edit menu
Polygon properties by right click
Right click on one of the edges/lines from the polygon which should be edited.
Select the option Edit the selected object to display the polygon properties PopUP window.
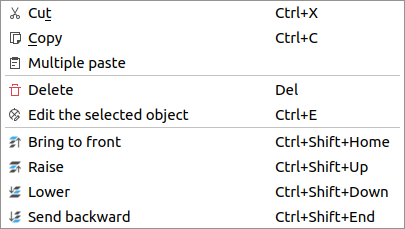
Figure: QElectroTech polygon selection PopUP window
Polygon properties from selection properties panel
Select one of the edges/lines from the polygon which should be edited and the properties from the polygon will appear at selection properties panel.
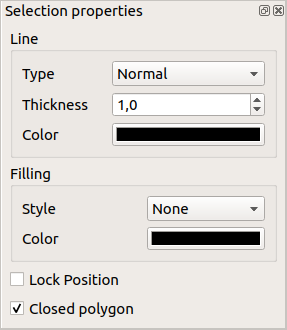
Figure: QElectroTech Polygon properties panel
Note
If the selection properties panel is not displayed, it can be displayed from Settings > Display > Selection properties
Polygon properties using keyboard shortcut
QElectroTech allows using keyboard shortcut to increase the working efficiency.
Select one of the edges/lines from the polygon which should be edited.
Press
Ctrl + eto display the polygon properties PopUP window.
See also
For more information about QElectroTech keyboard shortcuts, refer to menu bar section.